I am sharing your new all time favorite needlepoint project. Oh, how needlepoint has Taken off during the pandemic. I am sharing your new favorite needlepoint project of all time. I love how so many people have picked it up as a hobby. I started learning how to needlepoint a few years ago. I had seen some needlepoint projects here and there. I kept thinking about how it would be fun to make my own. So I found a needlepoint shop and went from there. Now back to the pandemic. As the pandemic went on I started seeing more and more projects. That is when I saw the ultimate one.
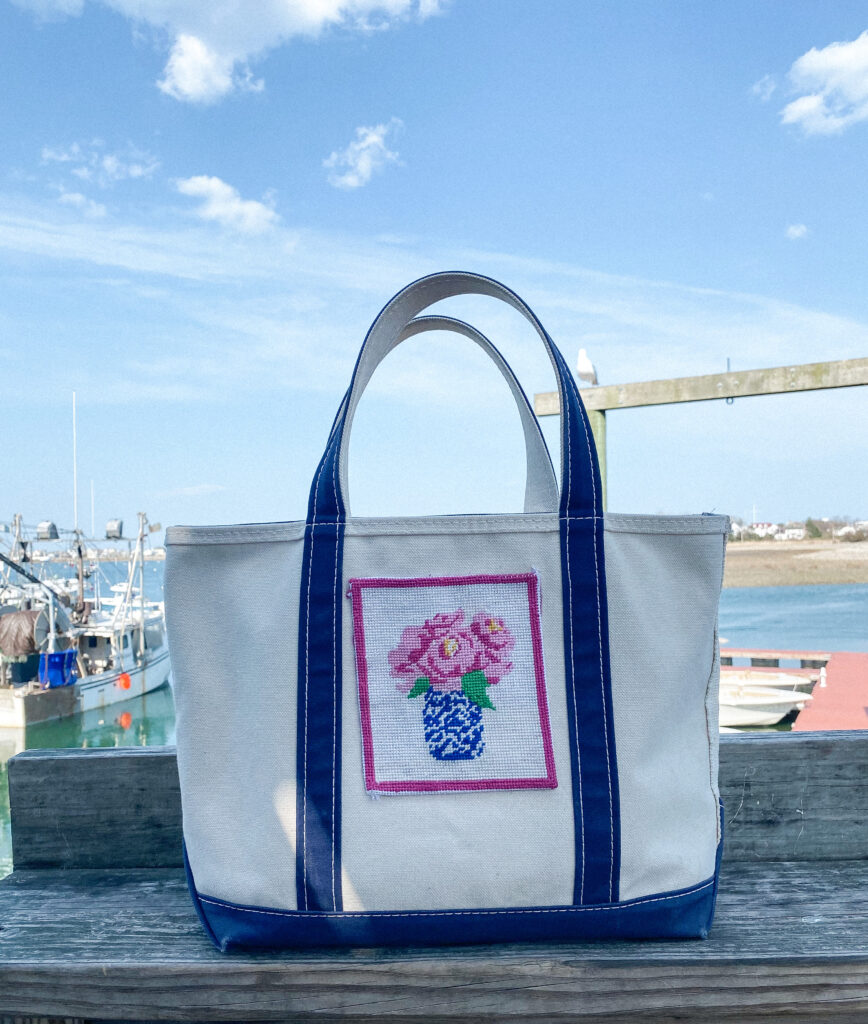
While I was on Instagram I stumbled upon Alice and Blues. They are a Needlepoint company out of Vermont. They have all kinds of canvases from flowers to cows. One of their projects caught my eye. It was a needlepoint canvas on a tote bag. As soon as I saw it I knew I wanted to make it. So I did. Ever since I finished my bad and started sharing it on Instagram I have been getting all kinds of questions. Since You all are into it I thought I would share a step-by-step of how I made it. Also, I have a post for all you new to needlepoint.
Xoxo- Nikki
Your new favorite needlepoint project of all time:

Materials you will need:
Needlepoint project
tote bag
Heavy-duty material glue
scissors
a heavy book to put on your project after you glue it to the tote bag.
Needle Point Tote Bag:
- Pick out a canvas you would like on your bag.
- Pick out a bag. I got mine at the LLbean outlet. It was a bag that had a monogram embroidered on it. Someone had returned it because the monogram was wrong. Because of this, it was half the price. So if you have an LLBean outlet by you, you should definitely check them out.
- Once your needlepoint is done, and you have made sure it is the size you want to go on the bag. It would help cut off the excess canvas while leaving 4 inches extra around all the edges.
- When this is done, you need to cut all the corners until you get to the project. You are cutting up the corners so you can fold those parts under your project.
- The next step is to fold up the excess canvas and sew it to the border with the same color.
- Next, you need to use heavy-duty material glue. You need to glue your needlepoint project to the tote bag. (put the glue all over the needlepoint). Now hold it down on the tote bag for about a minute, then find a heavy book and put it on top. Leave it on top for 24 hours, then enjoy your new made by your bag.